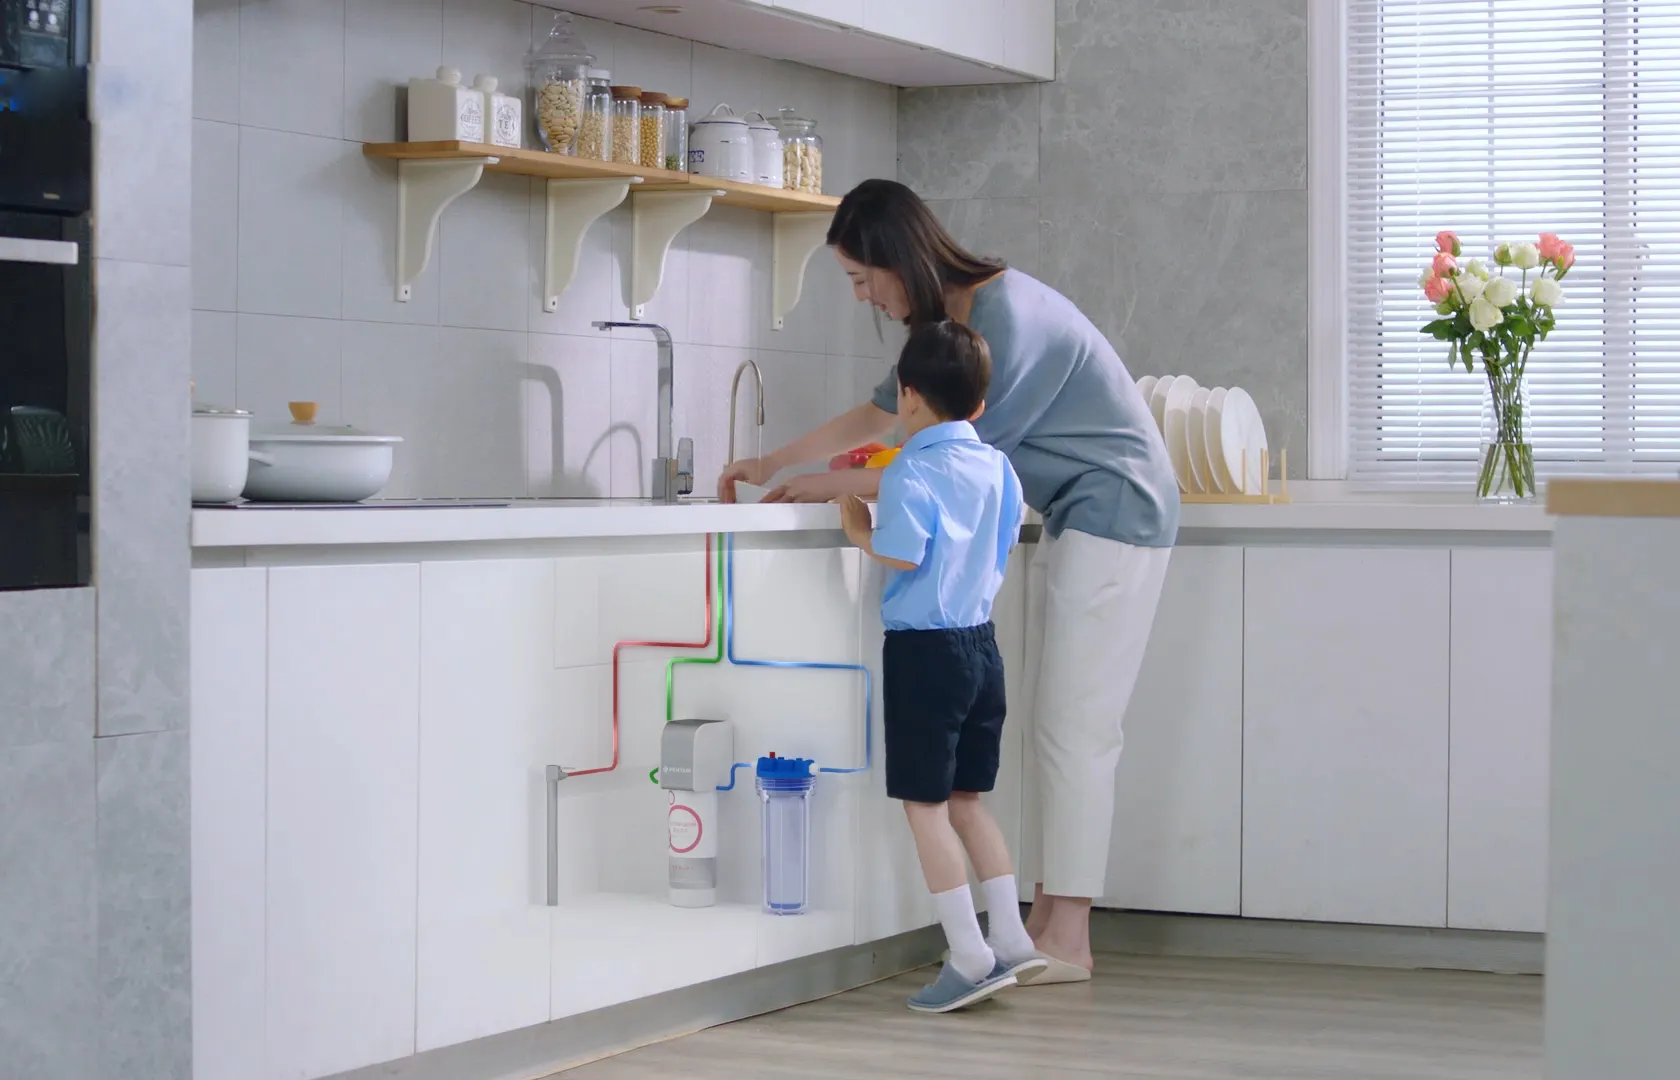
Installing a home water purification system is a significant step toward ensuring that you and your family have access to clean, safe drinking water. Whether you’ve opted for an under-sink filter, a whole-house system, or a countertop purifier, proper installation is crucial for optimal performance. In this guide, we’ll provide you with essential tips to make the installation process smooth and effective, ensuring that your water purification system works seamlessly from day one.
1. Read the Manufacturer’s Instructions Thoroughly
Before you begin the installation process, take the time to read and understand the manufacturer’s instructions provided with your water purification system. These instructions are designed to guide you through the specific requirements and steps for your particular model.
2. Choose the Right Location
Selecting the right location for your water purification system is key. For under-sink filters, ensure that there is sufficient space and that you can easily access the unit for filter changes. Whole-house systems should be installed near the point of entry of your water supply, and countertop purifiers should have a stable surface with proximity to a power source.
3. Consider Professional Installation for Complex Systems
While many water purification systems are designed for easy DIY installation, more complex systems, such as whole-house filtration or UV purifiers, may benefit from professional installation. This ensures that the system is correctly integrated with your plumbing and operates at peak efficiency.
4. Shut Off Water Supply
Before beginning the installation, turn off the main water supply to your home. This will prevent any water flow during the installation process, reducing the risk of leaks and making the installation safer and more manageable.
5. Install a Pre-Filter if Necessary
Some water purification systems, especially those designed for well water or areas with high sediment content, may benefit from a pre-filter. This filter can trap larger particles and prevent them from reaching the main purification system, enhancing its efficiency and longevity.
6. Use Thread Seal Tape
When connecting plumbing components, such as fittings and pipes, use thread seal tape (Teflon tape) to create a watertight seal. Wrap the tape in a clockwise direction on the male threads to prevent it from unraveling during installation.
7. Regularly Check for Leaks
Once the installation is complete and you’ve turned the water supply back on, carefully check for any leaks. Look for drips or pooling water around connections, and promptly address any issues to prevent water damage and maintain the effectiveness of your purification system.
8. Follow Filter Replacement Schedules
Different water purification systems have varying filter replacement schedules. Mark your calendar or set reminders to replace filters at the recommended intervals. Regular maintenance is essential for ensuring that your system continues to provide clean, safe water.
9. Test Water Quality
After installation, consider testing the water quality to ensure that your purification system is effectively removing contaminants. Water testing kits are available, or you can hire a professional service to assess the quality of your treated water.
Conclusion: Enjoying Clean and Healthy Water
By following these installation tips, you’re taking a proactive approach to ensure the success of your home water purification system. Clean and healthy water is essential for your well-being, and with proper installation and maintenance, your water purification system will continue to deliver the quality water your family deserves.


